Update 2023-12-05: A lot of the information on this page is now outdated, a new blog post about how my homelab has evolved will be out soon!
Introduction
A homelab is a word meaning a server or servers that are used for personal use. This can be anything from a simple raspberry pi to a full-blown home datacenter.
Why?
I mostly decided to undergo this endeavor because I wanted to gain valuable experience regarding system administration. I also wanted to use this server to host personal infrastructure, such as hosting files and storing backups. Most importantly, I wanted to have a fun experience doing something I enjoy.
Initial setup
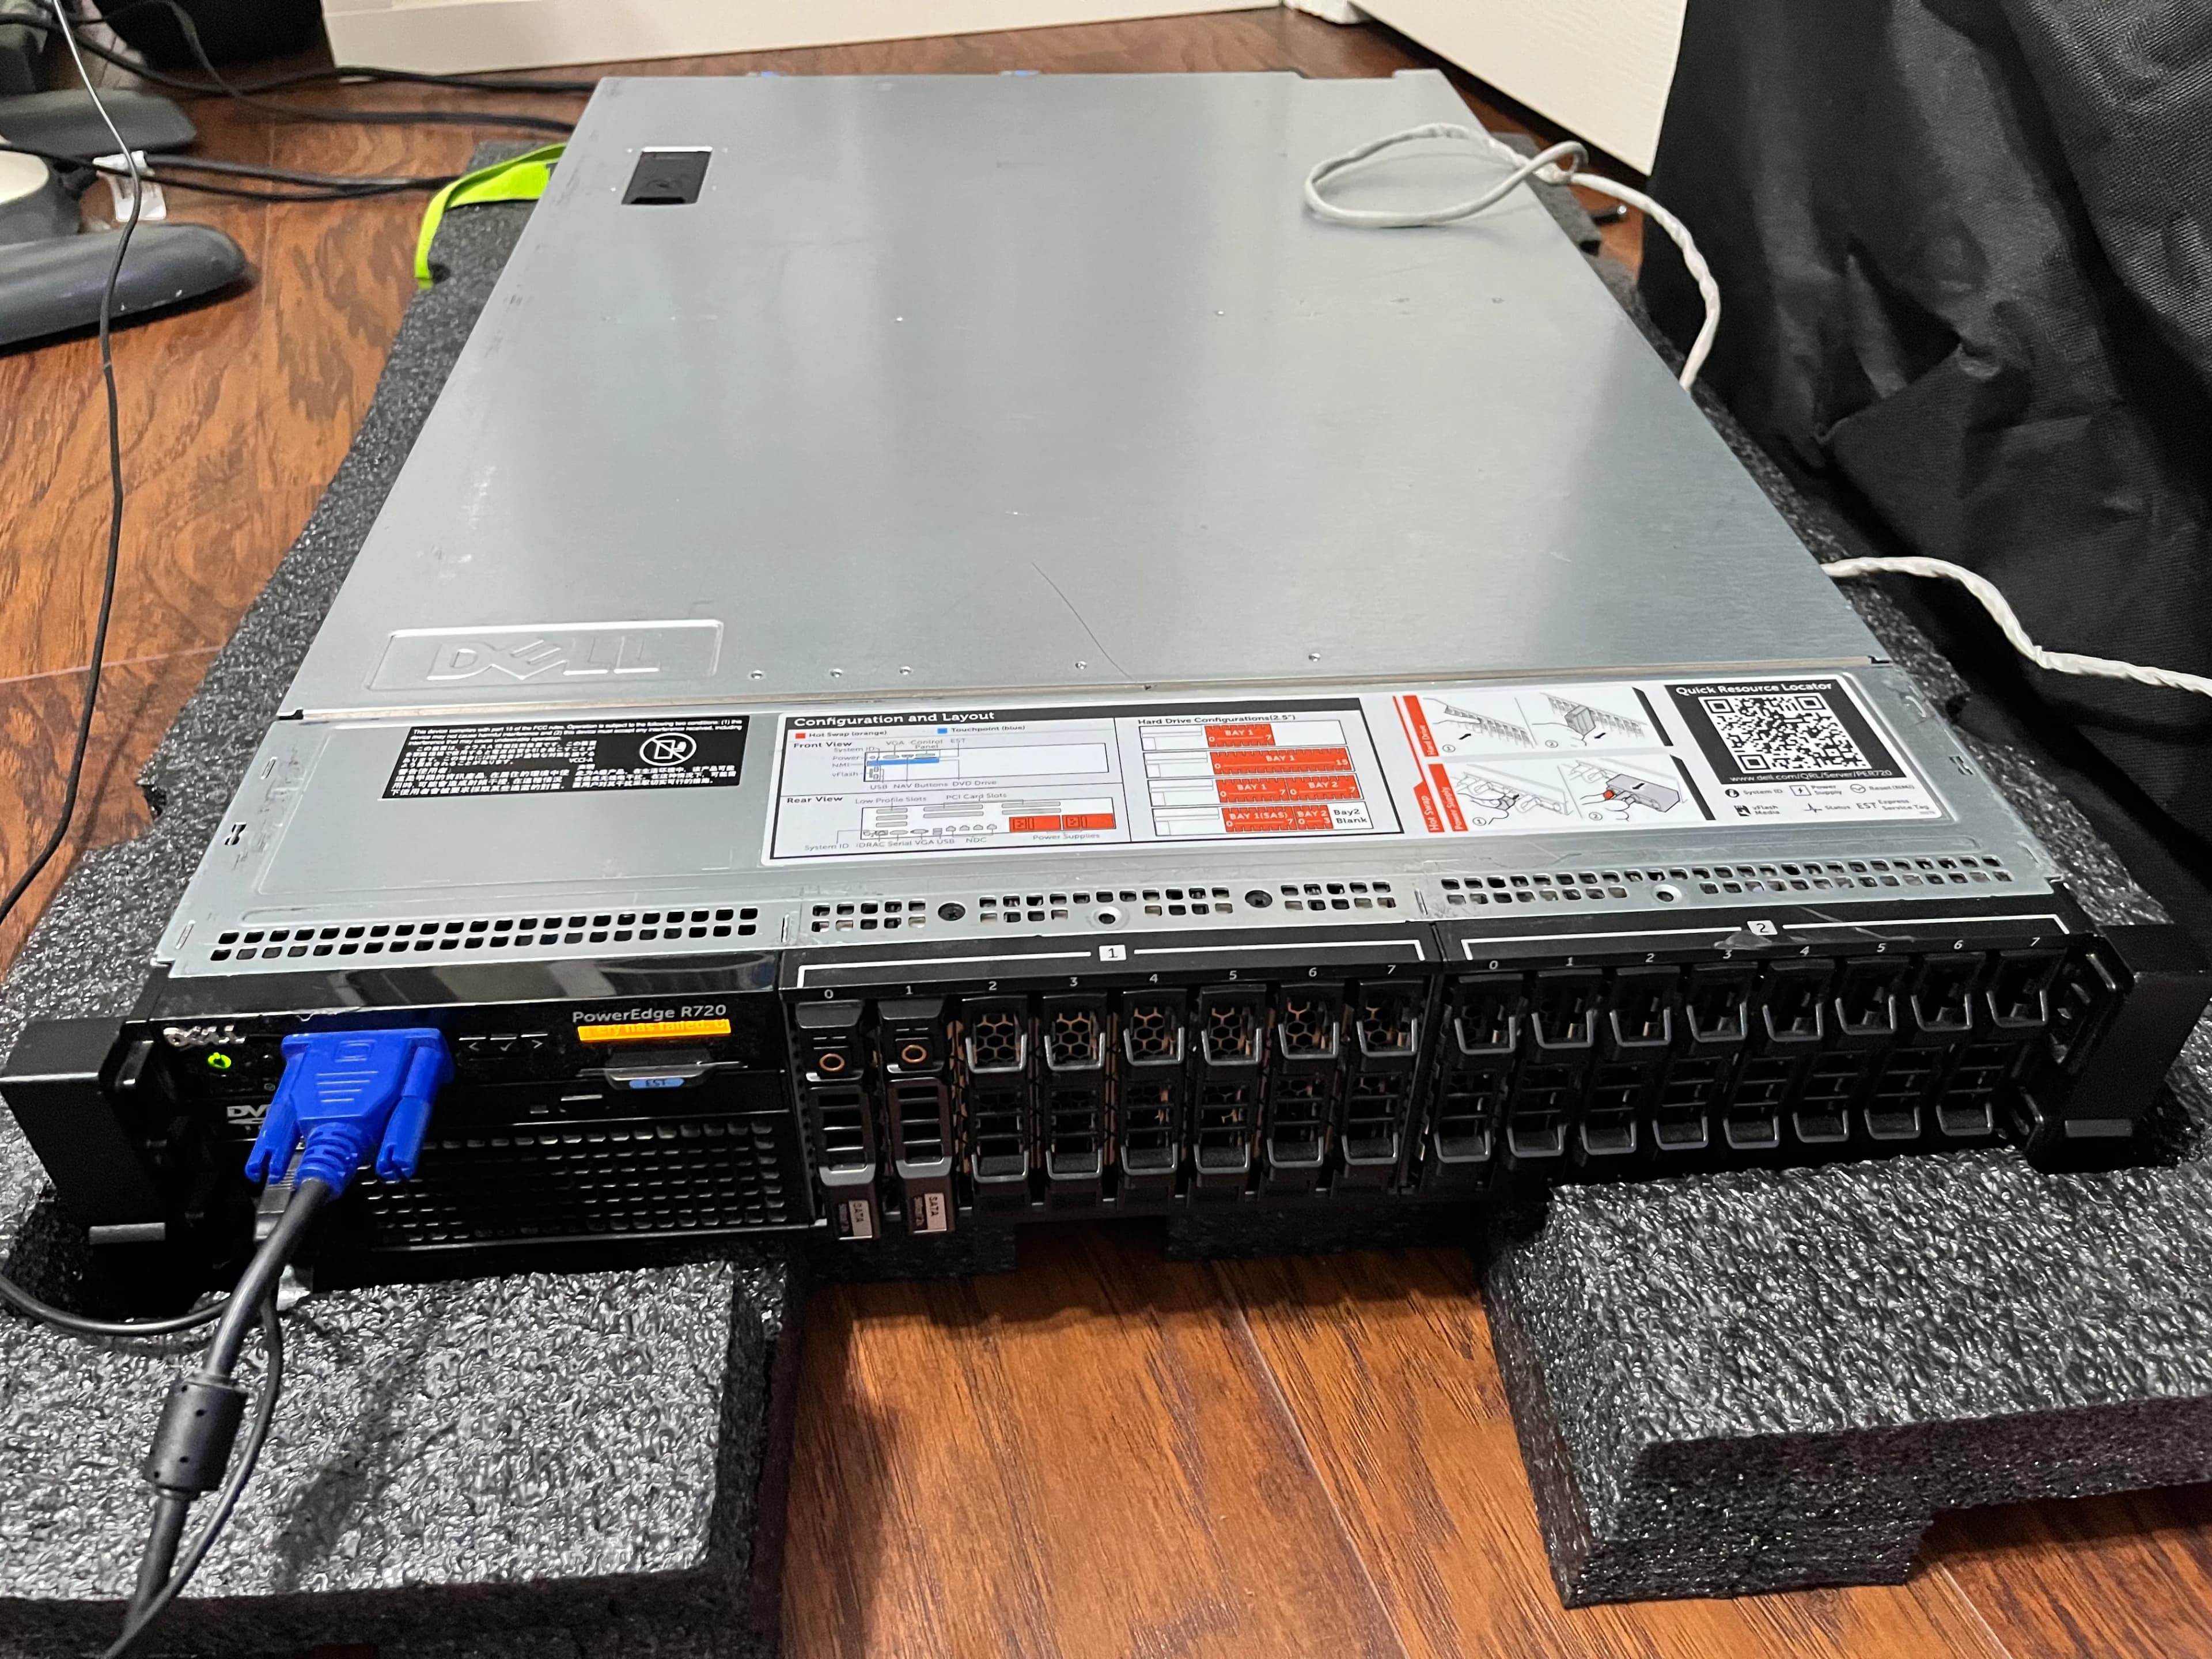
I came home from school to the huge 50-pound server in a box. I first moved it to the room it would be situated in, and opened the box. I didn’t have a rack, so I just placed the server on the ground, on top of the styrofoam it came in. The server only had a VGA video output, so I had to use an ancient VGA projector to see its video output. Before I could install an os, I had to flash the RAID controller into LSI IT/HBA mode. This is because the RAID card in its current state can only do hardware RAID. Since hardware raid is not very relevant nowadays, I wanted to use ZFS instead, requiring me to crossflash the card. There is a very nice guide on Fohdeesha.com that I followed to crossflash the card. An hour later, I was ready to install Proxmox. Due to having a very jank projector setup, I couldn’t install Proxmox using the installer, and therefore had to resort to installing debian, and then installing Proxmox from there. After I got Proxmox installed, I had to connect the server to my home network, which was harder and sketchier than it needed to be. I ended up combining 2 ethernet cables and routing cables in weird places through my house until I reached my router. After all this, it was getting late and I had school the next day, so I decided to continue tomorrow.
VM setup
I intended from the very start to keep the host OS practically untouched. Everything that ran on my server was to run in a VM. I did this mostly due to security reasons, and the ease of being able to backup and restore VMs. I decided to make a VM for services exposed to the internet, and another for services kept private to my local network. I also had a VM that acted as a subnet router for Tailscale. Since I did not want to install Debian on every VM, I made a VM into a Template and then cloned it for each VM I wanted to make. This made it very easy to create new VMs.
Internet facing VM (RedVM)
On my internet facing VM that runs exposed infrastructure, the first thing I did was to add some firewall rules to isolate it from my LAN. I did this because I did not want any possible hackers to be able to attack other computers on my home network. Since I love Docker and use it for everything, I picked Traefik as my reverse proxy/web server, due to first-class Docker support. It’s a very nice webserver, and is easy to use. It also has nice features such as automatic TLS certificates from LetsEncrypt.
LAN VM (LocalVM)
This VM hosts services that are only available to my local network, and via Tailscale. I plan to use this VM to host some sort of file storage (probably Nextcloud), and PhotoPrism. It also runs Pi-hole, a selfhosted DNS server, with the added functionality of being able to block ads and trackers network-wide. Currently, I don’t know what webserver I will be using for this VM, but it will probably be Traefik. I still intend to have HTTPS even on my LAN, so I will either use an external CA with dns-challenges or create my own certificate authority.
VPN VM (TailscaleVM)
This VM is a very simple VM, that only runs Tailscale. It is used to connect to my LAN. I chose to use Tailscale because it is very easy to use, and it is very secure. It also has a very nice feature of being able to connect to other Tailscale nodes, and create a mesh network. This is very useful for when I am on the go and want to connect to my home network.
Gameserver VM (GamesVM)
I play games occasionally, and I like hosting my own servers for me and my friends. For now, this only runs Minecraft, but in the future, I can see this VM running other games such as Rust, and SCPSL.
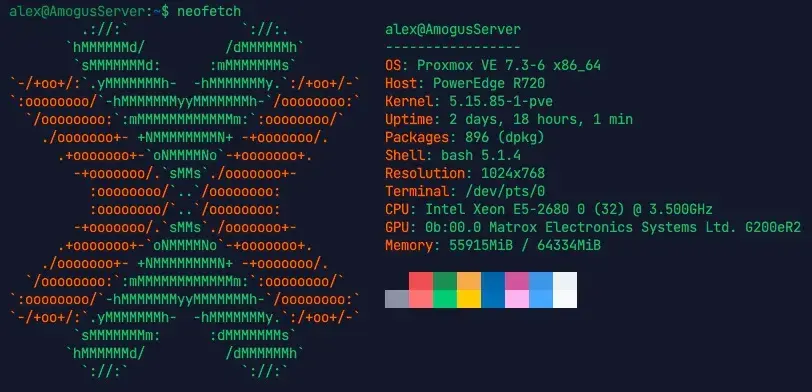
Tech specs
For those of you that are interested, here are the specs of the server, starting with a neofetch!
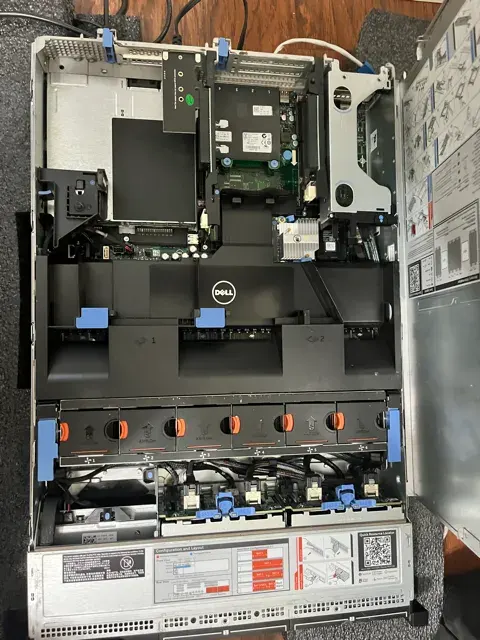
The server came with 2 x 500GB hard drives, plugged into an H710P Mini, and I also added a 1TB NVMe SSD I had, using a PCIe adaptor card.

Finally, here is a picture of the server with its case open
Conclusion
I hope this server becomes a platform for me to learn more about system administration, and have fun. I will be blogging about my experiences with this server, and I hope you enjoyed reading this blog post. If you have any comments or questions, contact me!